
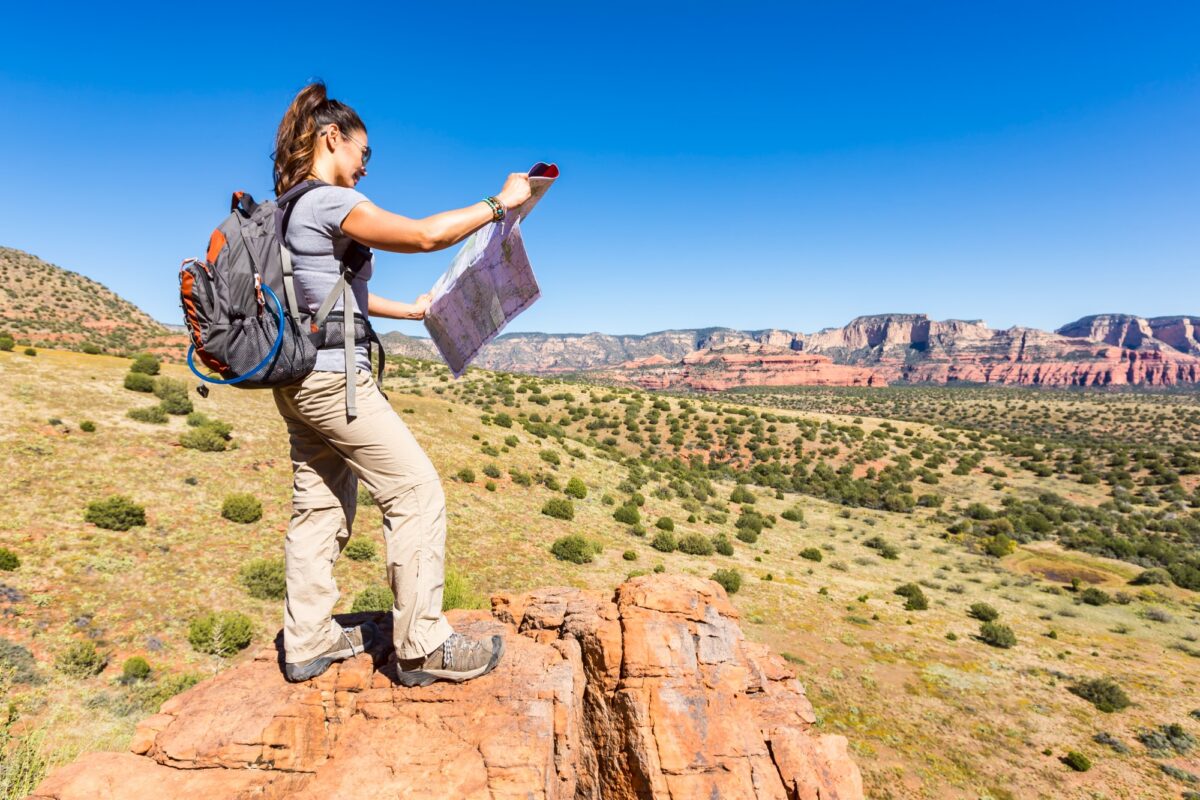
Just arrived somewhere new? Planning an outdoor day trip can feel daunting. Whatever kind of adventure you have in mind, this guide will help you plan a great day outside.
Step 1: Decide what kind of day you want
Decide what you want to do, how much time you have and how active you want to be. For example, you might want a moderate hike that takes two to three hours and ends with a great view.
- Hiking: Search AllTrails by location and filter by length and difficulty. On your first visit, consider a well-marked trail that matches your experience level.
- Biking: AllTrails works here, too, and Trailforks is a good option for mountain bike trail systems.
- Paddling or swimming: Look for public boat launches, beaches and put-ins on Google Maps, then check the managing agency’s website for access rules.
Choose one spot as your Plan A, the trip you really want to take. You’ll pick a backup later.
Step 2: Check passes, fees and rules
You may need a parking reservation, entry pass or permit to access an outdoor area, and some places charge separate fees. Popular destinations may also use timed-entry reservations that sell out well in advance.
Go to the official website for the park, forest or recreation area and look for:
- Day-use or parking fees, including whether you can pay on arrival or need cash
- Entry reservations or permits
- Boat launch fees or watercraft inspection requirements
- Rules for your activity, including restrictions on dogs, drones and campfires
If reservations are limited or required in advance, book early. Otherwise, check whether passes are available on arrival and review the refund policy before paying. Look at the forecast before committing to a nonrefundable purchase, but remember that conditions can change.
If you buy ahead, save a copy to your phone and screenshot it, since you may not have service.
Step 3: Check the parking and access situation
Many popular trailheads and launch spots have small parking lots that fill up early on busy weekends. Google Maps’ satellite view can help you get a sense of the parking area and nearby access roads. Look for:
- Lot size: A small gravel pullout may fill quickly. If parking looks limited, plan to arrive early or have your backup ready.
- Overflow parking: Look for designated additional lots or alternative access points. Check whether roadside parking is actually permitted.
- Road conditions: A rough dirt road might not be suitable for your car. Check official access information and recent reports for high-clearance requirements.
- Landmarks: Find something distinctive near the entrance so you’ll recognize the turn, as Google Maps can be inaccurate in more rural areas.
- Facilities: Check whether there’s a restroom or drinking water on-site. Bring enough water regardless, and plan a restroom stop beforehand if needed.
Step 4: Check the forecast
A forecast for the nearest town can be way off for mountains, coastlines and large lakes. Conditions can change dramatically over a short distance, especially with elevation.
For mountain trips, my go-to is Mountain-Forecast.com, which provides forecasts for different elevations on individual peaks. You can also check the National Weather Service for local forecasts and weather alerts.
Pay attention to these four things:
- Temperature: Higher elevations are often much colder than the trailhead. Check conditions for the elevation you’ll reach rather than relying on the nearest town.
- Wind: Strong gusts can make exposed ridges hazardous and create rough conditions for kayaks and paddleboards.
- Storm timing: Afternoon thunderstorms are common in many mountain regions during summer. Check the forecast and plan to be off exposed terrain well before storms are expected.
- Daylight: Note sunrise and sunset times. You’ll use sunset to build your schedule later.
For coastal paddling, check NOAA tide and current predictions. For rivers, use the USGS water data site to check streamflow and water levels where monitoring stations are available. Consult local health or environmental agencies for swimming advisories and harmful algal bloom warnings.
Step 5: Check current conditions
Even if the forecast for your day looks perfect, past storms may have left washed-out trails or downed trees.
- Official updates: Start with park and forest websites for closures, fire restrictions, flooding, wildlife alerts and trail damage.
- Recent reviews: Read the newest AllTrails reviews for reports of mud, lingering snow, fallen trees, damaged bridges, high creek crossings and inaccessible stretches. Keep in mind that user reports may be incomplete or outdated.
- Webcams: Ski resorts, parks and visitor centers may have webcams showing snow cover, cloud conditions or visibility. Search “[place name] webcam” to see what’s available.
If a trail is closed or water conditions are unsafe, that’s your cue to switch to Plan B.
Step 6: Research wildlife and hazards
Every region has its own hazards. Check the managing agency’s website for local wildlife and safety guidance, then prepare accordingly:
- Bears: Check local guidance on bear encounters and food storage. Bear spray may be recommended in some areas; if you carry it, learn how to use it and keep it accessible. Follow any bear-resistant food-storage requirements, and never approach or feed a bear.
- Ticks: In tick-prone areas, wear long pants tucked into your socks and use an EPA-registered insect repellent. Permethrin-treated clothing can provide additional protection, but permethrin should not be applied directly to skin. Check yourself for ticks afterward.
- Poison ivy, oak and sumac: Learn to identify these plants and stay on established trails. If your skin comes into contact with one, wash it with soap and water as soon as possible. Avoid touching contaminated clothing or gear until it’s cleaned.
- Snakes: Find out whether venomous snakes live in the area. Watch where you step or place your hands, and give snakes plenty of space. If bitten by a venomous snake, seek emergency medical attention. Don’t use suction devices or attempt to cut the wound.
- Water hazards: Cold water can be dangerous even on a hot day. Check for strong currents, upstream dam releases and harmful algal bloom advisories before swimming or paddling.
Step 7: Choose your Plan B
Now that you know about parking, weather and current conditions, pick a backup in case the parking lot is full or the trail is closed.
A good Plan B works in different conditions from Plan A. If your first choice is a high, exposed ridge, consider a lower-elevation forest trail or scenic drive instead. Keep the alternative reasonably close, and check its access rules, parking, forecast, current conditions and hazards, too.
Save both locations to your offline maps before leaving.
Step 8: Build your schedule
Start with your total time and work backward.
- Estimate the activity time.
- Hiking: For a rough starting estimate, allow about 2 miles per hour on moderate terrain, then add time for elevation gain, difficult sections and breaks. For example, a 6-mile hike with 1,500 feet of climbing might take around 4.5 hours, including stops. Adjust that estimate based on your fitness, experience and trail conditions.
- Biking: Be conservative on trails you don’t know, since mud, technical sections and climbing all slow you down.
- Paddling: Consider wind and current direction when planning your route. Starting against the wind can make the return easier, but conditions may change, so don’t count on a tailwind.
- Add extra time. Build in a buffer for unexpected delays. For the 4.5-hour hike above, adding about an hour would give you roughly 5.5 hours.
- Add driving time. Allow extra time beyond your navigation app’s estimate, especially for winding mountain roads, unpaved access routes or unfamiliar areas.
- Work backward from sunset. Decide when you want to be back at the car, well before dark. Then subtract your estimated activity time, including your buffer. For example, if sunset is at 6 p.m. and you want to finish by 4:30 p.m., a 5.5-hour outing means starting by 11 a.m. Starting earlier gives you more margin for error. Don’t forget to account for the drive to the trailhead.
- Set a turnaround time. Decide in advance when you’ll head back, whether or not you’ve reached your destination. Base that time on daylight, conditions and how long the return trip is likely to take. If you’ve set noon as your turnaround time, head back at noon even if the summit is still ahead.
Step 9: Pack your day bag
The National Park Service’s Ten Essentials are a good starting point. Adjust what you carry based on your activity, the forecast and how remote your destination is:
- Offline maps on your phone, plus a power bank and a backup navigation method
- Plenty of water and extra food
- A warm layer and rain protection
- A headlamp with fresh batteries
- A basic first aid kit with blister care and any personal medications
- Sunscreen, sunglasses and a hat
- Insect repellent or tick protection if needed
- Emergency supplies, including a whistle, emergency blanket and fire starter
- Any required passes and permits
Add activity-specific gear:
- Hiking: Sturdy footwear appropriate for the terrain and trekking poles if you use them
- Biking: A helmet and basic repair supplies, such as a spare tube, pump, multitool and patch kit
- Paddling: A properly fitted life jacket, a whistle, a dry bag for valuables and clothing appropriate for the water temperature
Step 10: Tell someone your plan
Before leaving, share your plans with a friend or family member who isn’t coming along. The National Park Service recommends leaving a trip plan with a trusted contact. Include:
- A Google Maps pin for where you’re parking or launching
- Your planned route or activity
- Your vehicle’s make, model and license plate
- When you expect to be back, and the time after which they should call for help
Share your plan before you lose cell service, update your contact if your plans change and check in when you’re safely back.
Step 11: On the day, ask a local
If there’s a ranger station or visitor center nearby, stop in and ask about current trail or water conditions before heading out. Local outdoor shops and outfitters may also have helpful information, including recent changes that haven’t made it into online reports.
And if you stop for coffee or a bite to eat, ask about the best post-trip food while you’re at it.
If what you hear changes your plans, make sure your new destination is safe and accessible before heading out.
Camp & Country trip planner
Where to next?
New place, new possibilities. Build a day trip plan that covers the details so you can focus on the fun.
This planner organizes what you enter. It doesn’t check live conditions, closures, permits, parking or daylight, so confirm those with official sources before you go.
Your home base for the great outdoors. Sign up for the Camp & Country newsletter
Keep the adventure going. Follow Camp & Country on Instagram, Facebook, X and Bluesky for outdoor inspiration, trip ideas and more.